> For the complete documentation index, see [llms.txt](https://ovatheme.gitbook.io/brw/llms.txt). Markdown versions of documentation pages are available by appending `.md` to page URLs; this page is available as [Markdown](https://ovatheme.gitbook.io/brw/brw-menu/settings/google-and-map.md).

# Google & Map

### 1: Google Services

Go to **WooCommerce > Settings > Booking & Rental > Gogole & Map >> Choose "Google" option**

<figure><img src="/files/qE9bz2MDhGXl3loRMSGi" alt=""><figcaption></figcaption></figure>

* **API Key**: This API applies to Google services such as Maps and Calendar. [Click here to register google api key](https://console.cloud.google.com/)
* **Map Zoom**: zoom of map at frontend
* **Default Latitude Map**:  Default position of Map.
* **Default Longitude Map**:  Default position of Map.
* **Client ID**: Only applies when syncing with Google Calendar

#### 1.1) Setup Google Map service

{% stepper %}
{% step %}

### Create API Key in google

* &#x20;[Click here to register google api key](https://console.cloud.google.com/)
* **Create a project**

<div><figure><img src="/files/0cVeEcpKPv4FNIg9jc6g" alt=""><figcaption></figcaption></figure> <figure><img src="/files/V7HqucKEWpTzJkJbC3Uz" alt=""><figcaption></figcaption></figure></div>

* **Create APIs and Services**

<div><figure><img src="/files/s9oiJS6KFzaTHnMIc41v" alt=""><figcaption></figcaption></figure> <figure><img src="/files/HgVFxQIcx5spthKHZDcD" alt=""><figcaption></figcaption></figure> <figure><img src="/files/vddD4nEgZPpbabha4Xr1" alt=""><figcaption></figcaption></figure> <figure><img src="/files/FR0aaAlmd3KzAQxOfXCr" alt=""><figcaption></figcaption></figure> <figure><img src="/files/q5fpUXC4vAPjKW3Uz84e" alt=""><figcaption></figcaption></figure> <figure><img src="/files/RD17xKXAW5DyIaClfduA" alt=""><figcaption></figcaption></figure> <figure><img src="/files/PYVooLbZuwKDOnpfz9aQ" alt=""><figcaption></figcaption></figure> <figure><img src="/files/hnjy9wSsyxvUnOBsFqBB" alt=""><figcaption></figcaption></figure> <figure><img src="/files/NWNfA8kH62SixP4K4lau" alt=""><figcaption></figcaption></figure> <figure><img src="/files/LkKS94JQGtQiBZ5ALXSN" alt=""><figcaption></figcaption></figure> <figure><img src="/files/HqFyMtiQVhHILF5ALUez" alt=""><figcaption></figcaption></figure> <figure><img src="/files/FqGIzn7bUB2RWfUU3poU" alt=""><figcaption></figcaption></figure></div>
{% endstep %}

{% step %}

### **Restrict some services**

**Only Enable 6 services**

* Maps Javascript API
* Places API
* Places API new
* Geocoding API
* Geolocation API
* Directions API

<div><figure><img src="/files/EvYcvipTROhe85hotqs9" alt=""><figcaption></figcaption></figure> <figure><img src="/files/6DrWgC9A5gR812QhbGFd" alt=""><figcaption></figcaption></figure> <figure><img src="/files/jwHDugO5Xryy49rDCnP2" alt=""><figcaption></figcaption></figure></div>

* **Copy API Key and insert to "API Key" setting.**

<div><figure><img src="/files/3JRgowopUOqj8udyG8T6" alt=""><figcaption></figcaption></figure> <figure><img src="/files/j4IiEHinMt57UFlSfztr" alt=""><figcaption></figcaption></figure></div>

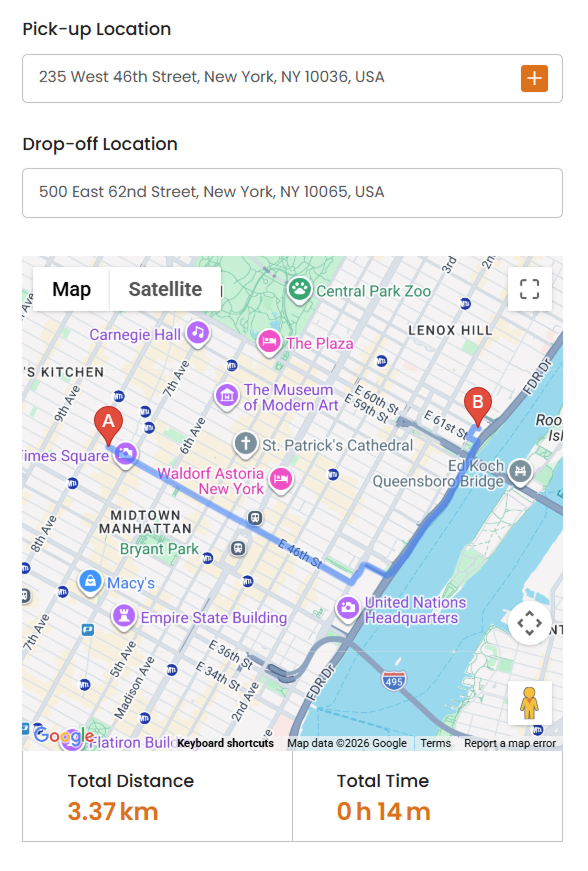
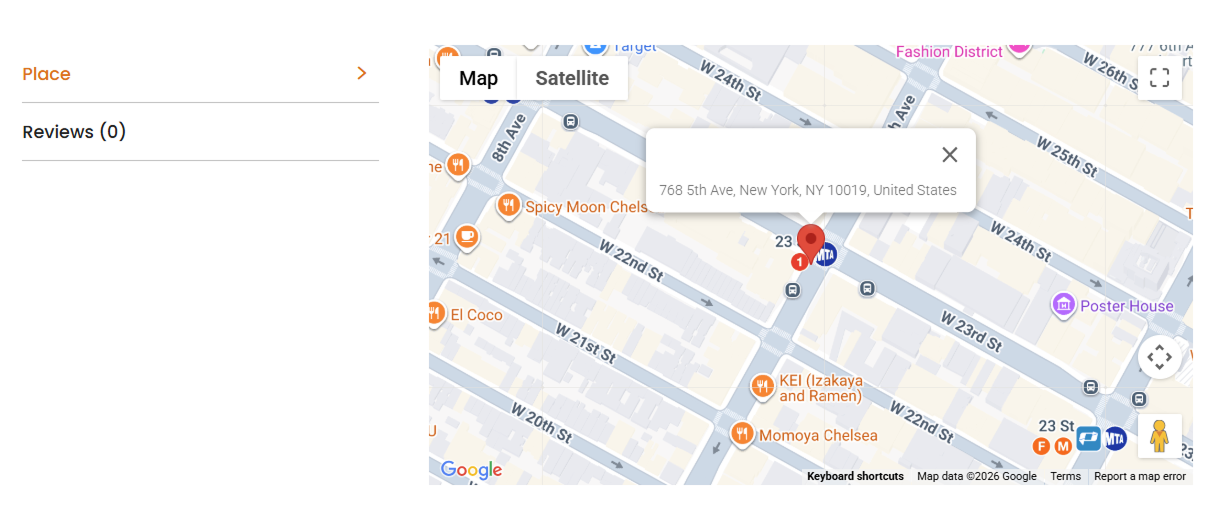
* **Use the map at frontend**

<div><figure><img src="/files/oyCwVRvOAE709m3k7UYb" alt=""><figcaption><p>Booking Form</p></figcaption></figure> <figure><img src="/files/sOdfneMKCfsUSdKUkl2W" alt=""><figcaption><p>Product Detail page</p></figcaption></figure></div>

{% endstep %}
{% endstepper %}

#### 1.2) Setup Google Calendar service

{% stepper %}
{% step %}

### You have to create API Key

Register an API key like [step 1 above](#create-api-key-in-google)
{% endstep %}

{% step %}

### Enable the Google Calendar API

<div><figure><img src="/files/nn0A5vBzVBKoGLxvjskn" alt=""><figcaption></figcaption></figure> <figure><img src="/files/u9Hd56dRtw2lEGJ04cVq" alt=""><figcaption></figcaption></figure></div>
{% endstep %}

{% step %}

### Create Client ID

From Main Menu click OAuth consent screen

<div><figure><img src="/files/46PJ0HUgkcnJh84p32Xv" alt=""><figcaption></figcaption></figure> <figure><img src="/files/9T4dZ20Y7lmPiDsEaXAc" alt=""><figcaption></figcaption></figure> <figure><img src="/files/9CB6Fm1oaFWhWP7bUQxm" alt=""><figcaption></figcaption></figure> <figure><img src="/files/C01BNNW6jhwtJbvpEhLm" alt=""><figcaption></figcaption></figure> <figure><img src="/files/EMz6cXVAPgn2D0Hs0yIr" alt=""><figcaption></figcaption></figure> <figure><img src="/files/r0vef82XYGL4rd17iShH" alt=""><figcaption></figcaption></figure> <figure><img src="/files/GWGpkUXHhabQNXGY3wpn" alt=""><figcaption></figcaption></figure></div>

<div><figure><img src="/files/oKWepCV1qF1MG0MQnMYg" alt=""><figcaption></figcaption></figure> <figure><img src="/files/BDUlluTJAzHw2Qei1Cvr" alt=""><figcaption></figcaption></figure> <figure><img src="/files/lSHBu3nP4il1Bvxp1VMv" alt=""><figcaption></figcaption></figure> <figure><img src="/files/iZWD8zP5Qbir4orWDI2Y" alt=""><figcaption></figcaption></figure></div>
{% endstep %}

{% step %}

### Sync orders from your site to Google Calendar.

You need to sync the order to the Google Calendar linked to the email address registered with Google Calendar.
{% endstep %}
{% endstepper %}

### 2: Open Street Map Settings

### a) Settings

Go to **WooCommerce > Settings > Booking & Rental > Google & Map > choose "OpenStreetMap" option.**

<figure><img src="/files/flUBtpKUYcrJjNTrIxpW" alt=""><figcaption></figcaption></figure>

* **Libs**: Pick features for your map system "suggest locations while typing" and Draw routes & calculate distance
* **Map Zoom**: Zoom of map at frontend
* **Latitude Map default**:  Default position of Map.
* **Longitude Map default**:  Default position of Map.

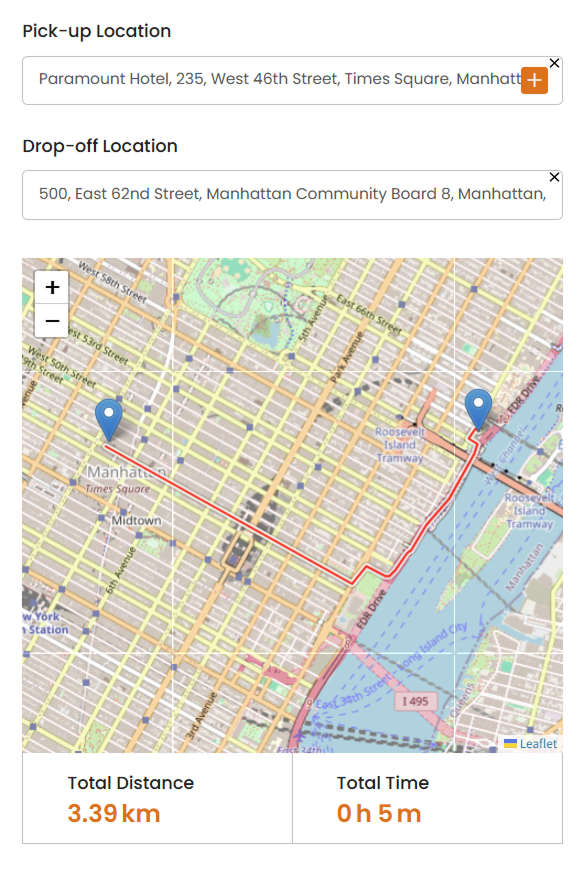
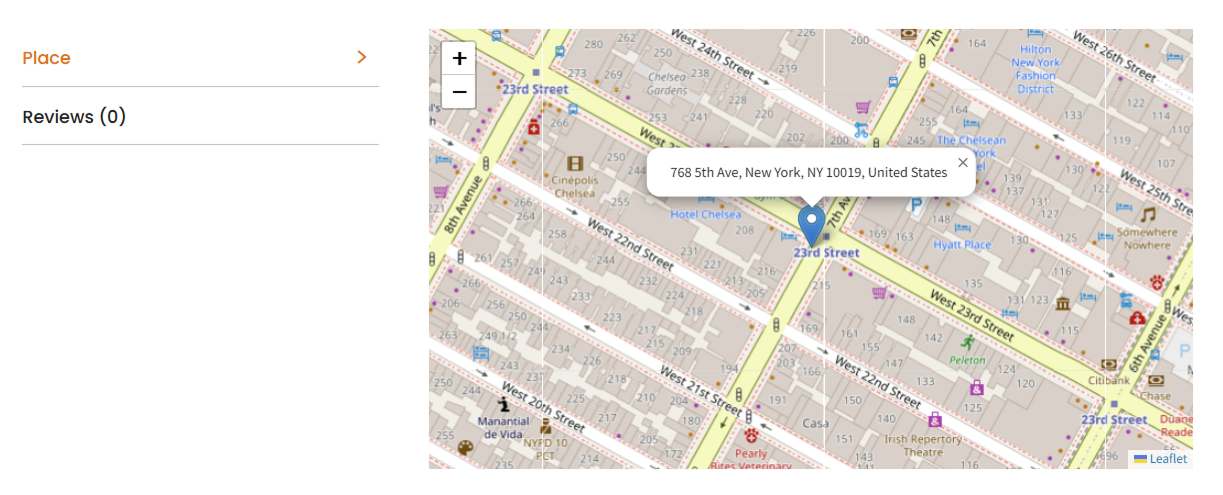
### b) Display in the frontend

<div><figure><img src="/files/vZ4MpF9bTrLkZZLWemVy" alt=""><figcaption><p>Booking Form</p></figcaption></figure> <figure><img src="/files/epjQEbAhcLJDLcXewNRk" alt=""><figcaption><p>Product Detail Page</p></figcaption></figure></div>